Your First PHP Project: Build a Simple Contact Form (Step-by-Step PHP Tutorial)
So, if you’ve come from our previous tutorial – you’ve just finished setting up your PHP development environment – congratulations! That’s a huge first step on your journey to becoming a web developer. But what’s next? How do you take that theoretical knowledge and turn it into something tangible? The answer, for many, begins with your first PHP project.
Today, we’re going to dive straight into building a practical, real-world application: a simple contact form. This isn’t just any form; it’s your gateway to understanding fundamental PHP form handling, data processing, and basic security. By the end of this PHP tutorial, you’ll have a working contact form and a solid foundation for more complex PHP applications.
Why a Contact Form for Your First PHP Project?
A contact form might seem basic, but it’s an excellent starting point for several reasons:
- Foundation of Web Interaction: Forms are how users interact with websites. Understanding them is crucial.
- Introduces Key PHP Concepts: You’ll learn about superglobal variables (
$_POST), conditional logic (if/else), basic data validation, and displaying dynamic content. - Practical & Immediate Results: You’ll see your code in action, which is incredibly motivating!
- Direct Follow-up: It’s a perfect next step after setting up your environment, allowing you to immediately apply what you’ve learned.
Step 1: Project Setup
To get started you need to create a folder that your ‘project’ is going to live in – if you decided to use Laragon in the previous tutorial, this is made very easy by right clicking the Laragon icon in the windows tray, and selecting ‘Quick App > Blank’ This will bring up a box where you can name this as something like ‘contact-form’. This will do 2 things:
- Create a folder in the root of the Laragon server directory (this will be where you selected for Laragon to be installed) – for example C:\laragon\www
- It will link a test hostname to this folder to be able to then easily view your creation in the browser when you visit http://contact-form.test
However if you have decided to just install PHP manually – you can create a folder anywhere on your local drive and work from there, for example: C:\php-projects\contact-form
Next open the windows Command Prompt (search for cmd in the start menu)
Use the ‘cd’ (Change Directory) command to navigate to your project folder by pasting the below or typing the address of whatever directory you have created:
cd C:\php-projects\contact-formNext start PHP’s built-in development server by running:
php -S localhost:8000Then open your browser and go to:
http://localhost:8000That’s it. PHP is now running.
Step 2: Setting Up Your HTML Form
While PHP is used for dynamic elements, PHP-based websites still use HTML to display content in the browser.
All websites normally run from a file called index.php – To create a php file – you can simply create a .txt file in the project folder, and then rename and change the extension to .php
Create the index.php file in the contact-form folder you have created and then open it in the text editor of your choice (Even Windows Notepad will do)
Copy the below code and paste it into your file.
<!DOCTYPE html>
<html>
<head>
    <title>Contact Form</title>
</head>
<body>

<h1>Contact Us</h1>

<form method="post">
    <p>
        Name:<br>
        <input type="text" name="name">
    </p>
    <p>
        Email:<br>
        <input type="text" name="email">
    </p>
    <p>
        Message:<br>
        <textarea name="message"></textarea>
    </p>
    <p>
        <button type="submit">Send</button>
    </p>
</form>
</body>
</html>
Once you save this, if you are running Laragon, visit the website address provided, and you should be presented with something that looks like this:
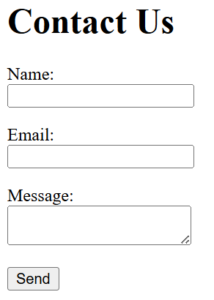
Well done – you have just developed your first web page!
Step 3: Handling Form Submissions with PHP
Now let’s make it actually do something.
At the very top of the file (before <!DOCTYPE html>), add this:
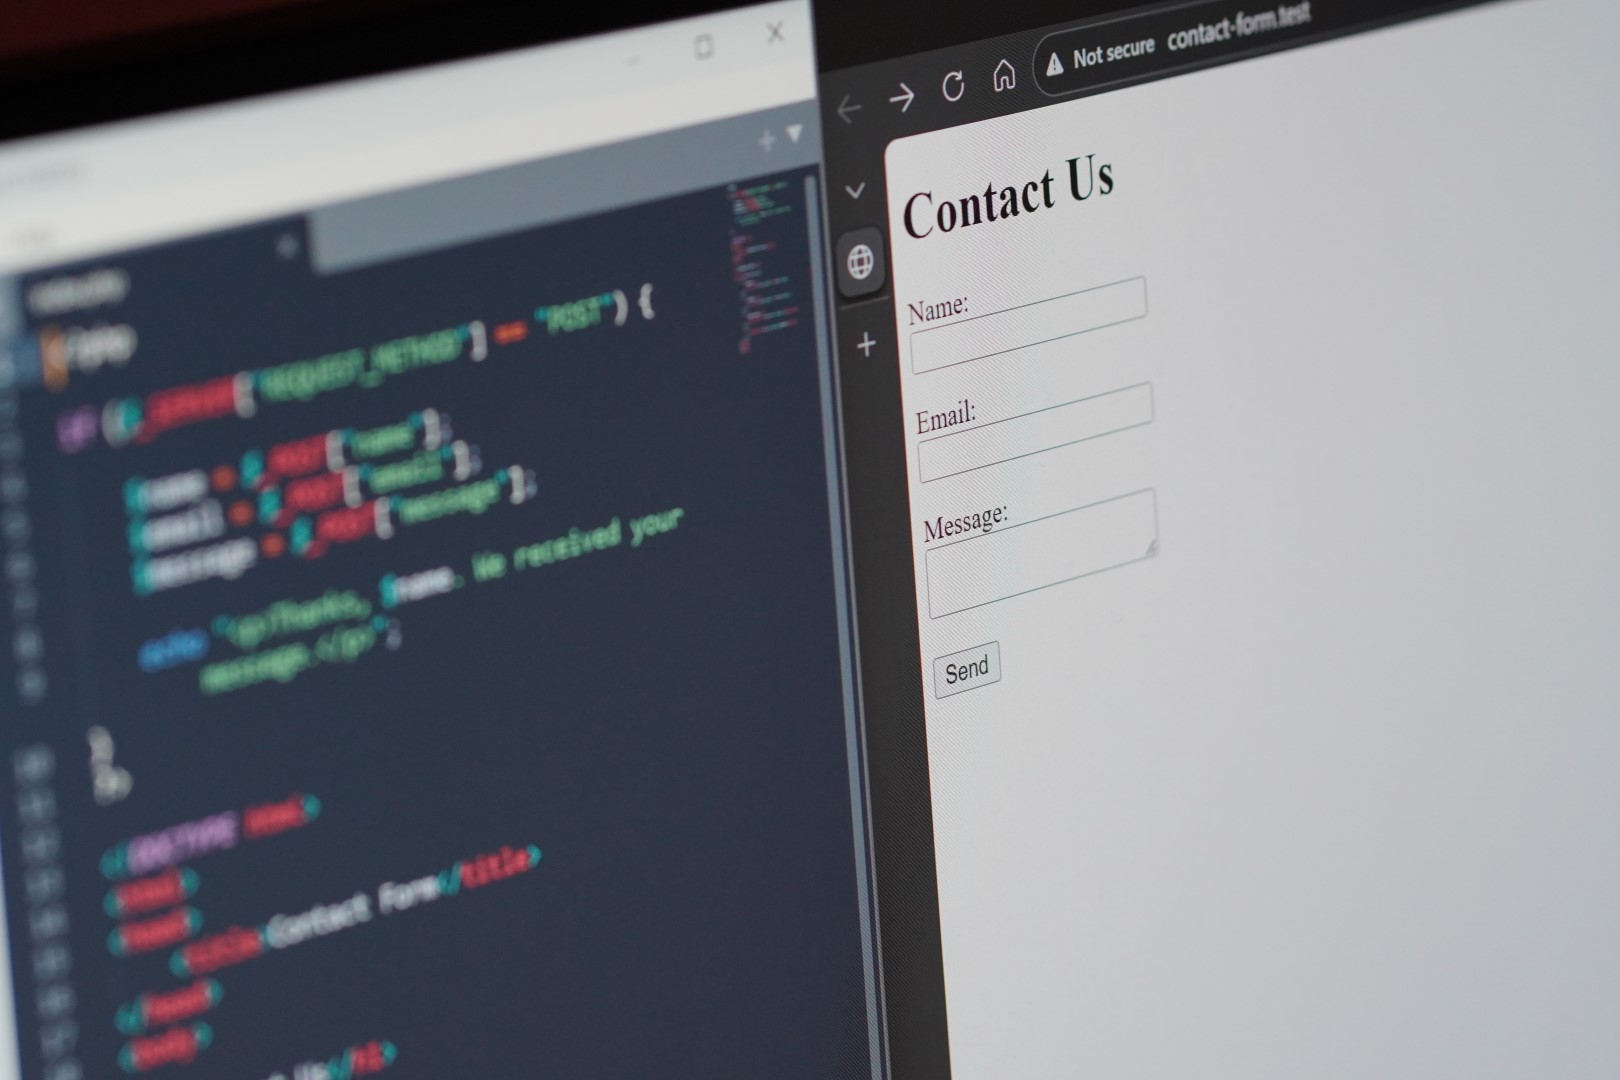
<?php
if ($_SERVER["REQUEST_METHOD"] == "POST") {
    $name = $_POST["name"];
    $email = $_POST["email"];
    $message = $_POST["message"];
    echo "<p>Thanks, $name. We received your message.</p>";
}
?>
Refresh your browser, then try filling the form and clicking ‘Send’
If you have followed this correctly – a message should appear with your name in it!
What Just Happened?
When you press Send:
- The form submits using
method="post". - PHP checks if the page was loaded using POST.
- If it was, PHP reads the values using:
$_POST["fieldname"]That’s it. That’s basic PHP form handling.
No validation.
No security yet.
Just understanding how data moves from a form into PHP.
Step 4: Add a Tiny Bit of Checking (Optional)
If you want one simple improvement, change the PHP at the top to:
<?php
if ($_SERVER["REQUEST_METHOD"] == "POST") {
    if (!empty($_POST["name"])) {
        $name = $_POST["name"];
        echo "<p>Thanks, $name. We received your message.</p>";
    } else {
        echo "<p>Please enter your name.</p>";
    }
}
?>
This checks whether the Name field is empty. If it is, PHP displays an error message instead of the success message.
N.B. in PHP logic when you use an exclamation mark before a logic check, it will check the opposite – so here where !empty is used, it is actually checking if the field is ‘not empty’
What’s Next? Expanding Your PHP Skills
Congratulations! You’ve successfully built your first PHP project – a functional contact form. But this is just the beginning. To take your skills further, consider these next steps:
- Email Integration: Instead of just displaying a success message, actually send the form data to an email address using PHP’s
mail()function or a more robust library like PHPMailer. (This is a fantastic follow-up project!) - Database Storage: Learn how to connect to a MySQL database and store the contact messages for later retrieval. This involves PDO (PHP Data Objects) for secure database interactions.
- Advanced Validation: Implement more sophisticated server-side validation rules (e.g., minimum message length, preventing specific characters).
- Error Reporting & Logging: Understand how to configure PHP for error reporting during development and logging errors in production.
- User Interface (UI) Enhancements: Improve the look and feel of your form using CSS frameworks like Bootstrap.
Conclusion
Building a simple contact form is an incredibly rewarding first PHP project. You’ve gained hands-on experience with PHP form handling, basic validation, and displaying dynamic content, laying a crucial groundwork for more complex web applications. This PHP tutorial has hopefully empowered you to start building more interactive and dynamic websites.
Keep experimenting, keep coding, and don’t be afraid to break things – that’s how you learn! Share your creations and challenges with the PHP community. What will your next PHP project be? The possibilities are endless!