
Unlock Your Data: A Beginner’s Guide to PHP MySQL Connect & CRUD Operations
Welcome back to the exciting world of web development! You’ve likely heard of dynamic websites and the power of data. Our previous tutorial introduced you to the concept of form handling and variables enabling dynamic messages shown to the user, In this tutorial we will take a significant leap forward. This time, we’re not just connecting; we’re building a practical, very simple CRUD application that will allow you to Create, Read, Update, and Delete data directly from your web browser.
This guide is designed to be a hands-on PHP database tutorial, focusing on the absolute basics of PHP MySQL connect and fundamental CRUD operations without getting bogged down in complex error handling or advanced features. We’ll set up a simple table, display its contents, and then create straightforward ways to interact with that data.
Setting the Stage: Database and Connection
Before we write any PHP, let’s prepare our database. We’ll create a simple users table to store some basic information.
1. Create Your Database Table
If you are using Laragon as suggested in the previous tutorials – when you create a simple ‘Blank’ project, it will create a MySQL database with the same name as your project as default, however you still need to create ‘Tables’ within this to be able to use it.
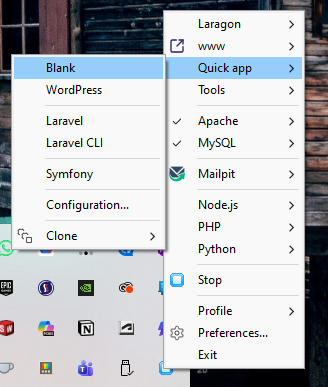
So lets start a new project – right click on the Laragon icon in your task tray, and select ‘Quick app > Blank’. In the popup box, enter a name for your project – for this tutorial I went with: simple-crud-db
Laragon utilises HeidiSQL for database management, which it makes it very easy to manage rather than controlling databases through the commandline. In the same Laragon tray menu, when you click on ‘Tools > HeidiSQL’ button you will be presented with the below:
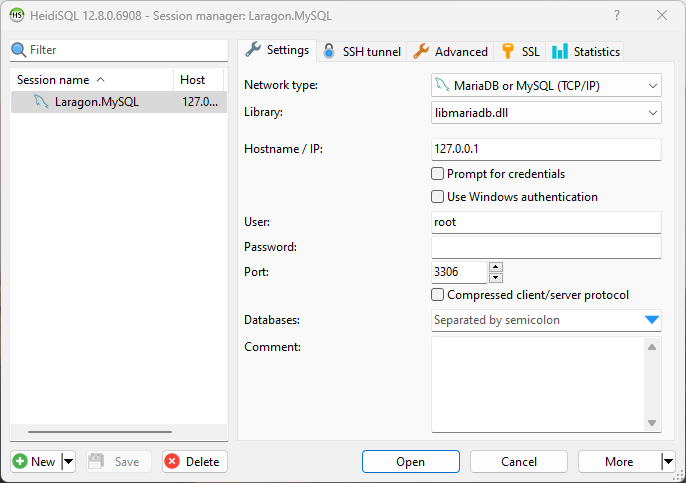
All of these settings should already be pre-set, and all you need to do is click ‘Open’
Once opened you should see the name of your newly created project as a database entry in the LH side panel. There is currently no tables in it, so it will look a bit blank. You can utilise some of the GUI buttons and tools to create a new table, but I prefer to instead do this through SQL code.
In the main window area, there should be a tab called ‘Query’ – this is used to execute SQL code to interact with the database. We want to create a new users table within the database, so simply copy and paste the below, and then hit the Execute button in the menu above (looks like a play button)
CREATE TABLE IF NOT EXISTS users (
    id INT AUTO_INCREMENT PRIMARY KEY,
    firstname VARCHAR(50) NOT NULL,
    lastname VARCHAR(50) NOT NULL,
    email VARCHAR(100) UNIQUE NOT NULL,
    reg_date TIMESTAMP DEFAULT CURRENT_TIMESTAMP ON UPDATE CURRENT_TIMESTAMP
);
Once completed, you may need to click the Refresh button in the menu (or F5 key), and all being well, you should be able to see a new table appear under the database heading:

2. Connect your website code to the database
The next step is to link your website pages and PHP files to the database
To keep our code clean, let’s create a separate file config.php in the main root folder that will handle our database connection. This file will be included in all our other PHP scripts. Copy the below and paste into the file and save it
<?php
$servername = "localhost";
$username = "root"; // Your MySQL username
$password = "";     // Your MySQL password (often empty for root on local setup)
$dbname = "simple-crud-db"; // The database we just created

// Create connection
$conn = new mysqli($servername, $username, $password, $dbname);

// Check connection (basic)
if ($conn->connect_error) {
    die("Connection failed: " . $conn->connect_error);
}
?>
Remember to update the $username and $password fields with your actual MySQL credentials. In Laragon the user is root with an empty password as default.
Building Our Simple PHP CRUD Application (index.php)
Now, let’s build index.php, which will display our data and allow us to create new records. This will be the main entry point for our PHP database tutorial example.
<?php
include 'config.php'; // Include our connection file
// Handle POST request for creating a new user
if ($_SERVER["REQUEST_METHOD"] == "POST") {
$firstname = $_POST['firstname'];
$lastname = $_POST['lastname'];
$email = $_POST['email'];
// Using prepared statements for security (basic)
$stmt = $conn->prepare("INSERT INTO users (firstname, lastname, email) VALUES (?, ?, ?)");
$stmt->bind_param("sss", $firstname, $lastname, $email);
$stmt->execute();
$stmt->close();
header("Location: index.php"); // Redirect to refresh page
exit();
}
// Fetch all users to display
$result = $conn->query("SELECT id, firstname, lastname, email FROM users");
?>
<!DOCTYPE html>
<html lang="en">
<head>
<meta charset="UTF-8">
<title>Simple PHP CRUD App</title>
<style>
body { font-family: sans-serif; margin: 20px;}
table { width: 100%; border-collapse: collapse; margin-top: 20px;}
th, td { border: 1px solid #555; padding: 8px; text-align: left; }
.container { max-width: 800px; margin: auto; padding: 20px; border: 1px solid #555; border-radius: 8px; }
.add-form { margin-top: 10px; padding: 20px; background-color: #fff; border-radius: 5px; }
.add-form input[type="text"], .add-form input[type="email"] { width: calc(100% - 22px); padding: 10px; margin-bottom: 10px; border: 1px solid #444; border-radius: 4px; }
</style>
</head>
<body>
<div class="container">
<h1>User Management</h1>
<!-- Display Existing Users -->
<h2>Current Users</h2>
<table>
<thead>
<tr>
<th>ID</th>
<th>First Name</th>
<th>Last Name</th>
<th>Email</th>
<th>Actions</th>
</tr>
</thead>
<tbody>
<?php
if ($result->num_rows > 0) {
while($row = $result->fetch_assoc()) {
echo "<tr>";
echo "<td>" . $row["id"]. "</td>";
echo "<td>" . $row["firstname"]. "</td>";
echo "<td>" . $row["lastname"]. "</td>";
echo "<td>" . $row["email"]. "</td>";
echo "<td><a href='edit.php?id=" . $row["id"] . "'>Edit</a> | <a href='delete.php?id=" . $row["id"] . "' onclick='return confirm(\"Are you sure?\")'>Delete</a></td>";
echo "</tr>";
}
} else {
echo "<tr><td colspan='5'>No users found.</td></tr>";
}
$conn->close();
?>
</tbody>
</table>
<!-- Simple Form for Creating New Users (like a modal for data entry) -->
<div class="add-form">
<h2>Add New User</h2>
<form method="post" action="index.php">
<input type="text" name="firstname" placeholder="First Name" required>
<input type="text" name="lastname" placeholder="Last Name" required>
<input type="email" name="email" placeholder="Email" required>
<button type="submit">Add User</button>
</form>
</div>
</div>
</body>
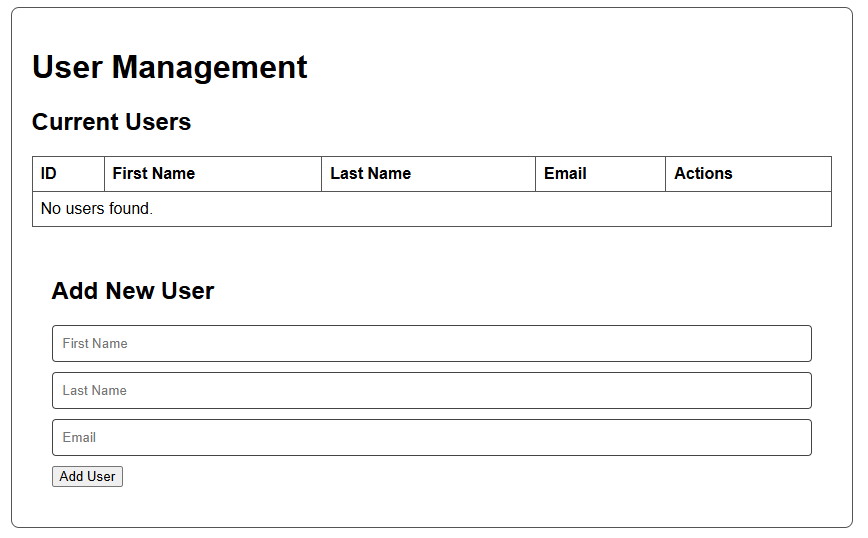
</html>This index.php file handles two main things: reading all existing users from the database and displaying them in a table, and providing a simple form to create new users. When the form is submitted, the data is inserted, and the page redirects to itself to show the updated list.
Updating Data (edit.php)
To handle updating records, we’ll create edit.php. This page will fetch a specific user’s data based on an id passed in the URL, display it in a pre-filled form, and then process the update.
<?php
include 'config.php';

$id = $_GET['id'] ?? 0; // Get ID from URL, default to 0 if not set

// Handle POST request for updating a user
if ($_SERVER["REQUEST_METHOD"] == "POST" && isset($_POST['user_id'])) {
    $user_id = $_POST['user_id'];
    $firstname = $_POST['firstname'];
    $lastname = $_POST['lastname'];
    $email = $_POST['email'];

    $stmt = $conn->prepare("UPDATE users SET firstname=?, lastname=?, email=? WHERE id=?");
    $stmt->bind_param("sssi", $firstname, $lastname, $email, $user_id);
    $stmt->execute();
    $stmt->close();
    $conn->close();
    header("Location: index.php");
    exit();
}

// Fetch user data for pre-filling the form
$user = null;
if ($id > 0) {
    $stmt = $conn->prepare("SELECT id, firstname, lastname, email FROM users WHERE id = ?");
    $stmt->bind_param("i", $id);
    $stmt->execute();
    $result = $stmt->get_result();
    $user = $result->fetch_assoc();
    $stmt->close();
}

// If user not found or ID is invalid, redirect back
if (!$user) {
    header("Location: index.php");
    exit();
}
?>

<!DOCTYPE html>
<html lang="en">
<head>
    <meta charset="UTF-8">
    <title>Edit User</title>
    <style>
        body { font-family: sans-serif; margin: 20px;}
        .container { max-width: 600px; margin: auto; padding: 20px; border: 1px solid #555; border-radius: 8px; }
        form input[type="text"], form input[type="email"] { width: calc(100% - 22px); padding: 10px; margin-bottom: 10px; border: 1px solid #444; border-radius: 4px; }
    </style>
</head>
<body>
    <div class="container">
        <h1>Edit User #<?php echo htmlspecialchars($user['id']); ?></h1>
        <form method="post" action="edit.php">
            <input type="hidden" name="user_id" value="<?php echo htmlspecialchars($user['id']); ?>">
            <label for="firstname">First Name:</label>
            <input type="text" id="firstname" name="firstname" value="<?php echo htmlspecialchars($user['firstname']); ?>" required>
            <label for="lastname">Last Name:</label>
            <input type="text" id="lastname" name="lastname" value="<?php echo htmlspecialchars($user['lastname']); ?>" required>
            <label for="email">Email:</label>
            <input type="email" id="email" name="email" value="<?php echo htmlspecialchars($user['email']); ?>" required>
            <button type="submit">Update User</button>
            <a href="index.php"><button type="button">Cancel</button></a>
        </form>
    </div>
</body>
</html>
<?php $conn->close(); ?>
Deleting Data (delete.php)
Finally, for deleting records, we’ll create a simple delete.php script that takes an id from the URL, performs the deletion, and then redirects back to the main page.
<?php
include 'config.php';

if (isset($_GET['id'])) {
    $id = $_GET['id'];

    $stmt = $conn->prepare("DELETE FROM users WHERE id = ?");
    $stmt->bind_param("i", $id);
    $stmt->execute();
    $stmt->close();
}

$conn->close();
header("Location: index.php"); // Redirect back to the main page
exit();
?>
Conclusion: Your First PHP CRUD Application is Ready!
Congratulations! You’ve just built a fully functional, albeit basic, PHP CRUD application. You’ve gone beyond just a simple PHP MySQL connect and created a system to manage data effectively: creating new entries, reading existing ones, updating information, and deleting records. This foundational understanding is crucial for almost any dynamic web project.
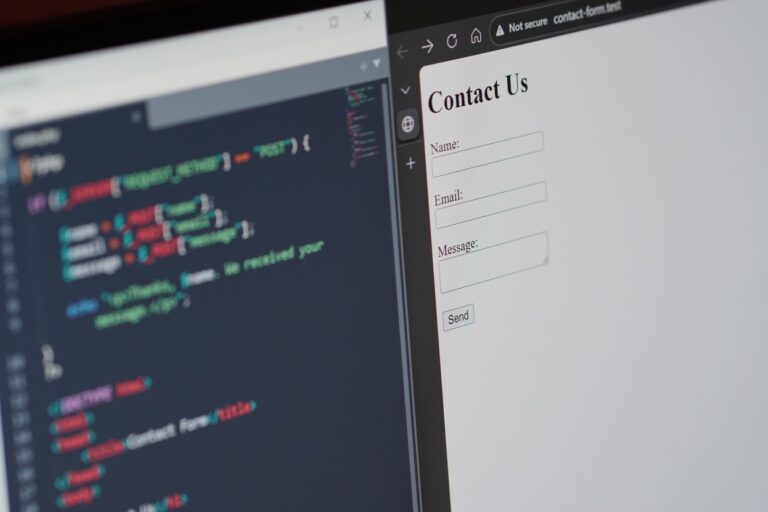
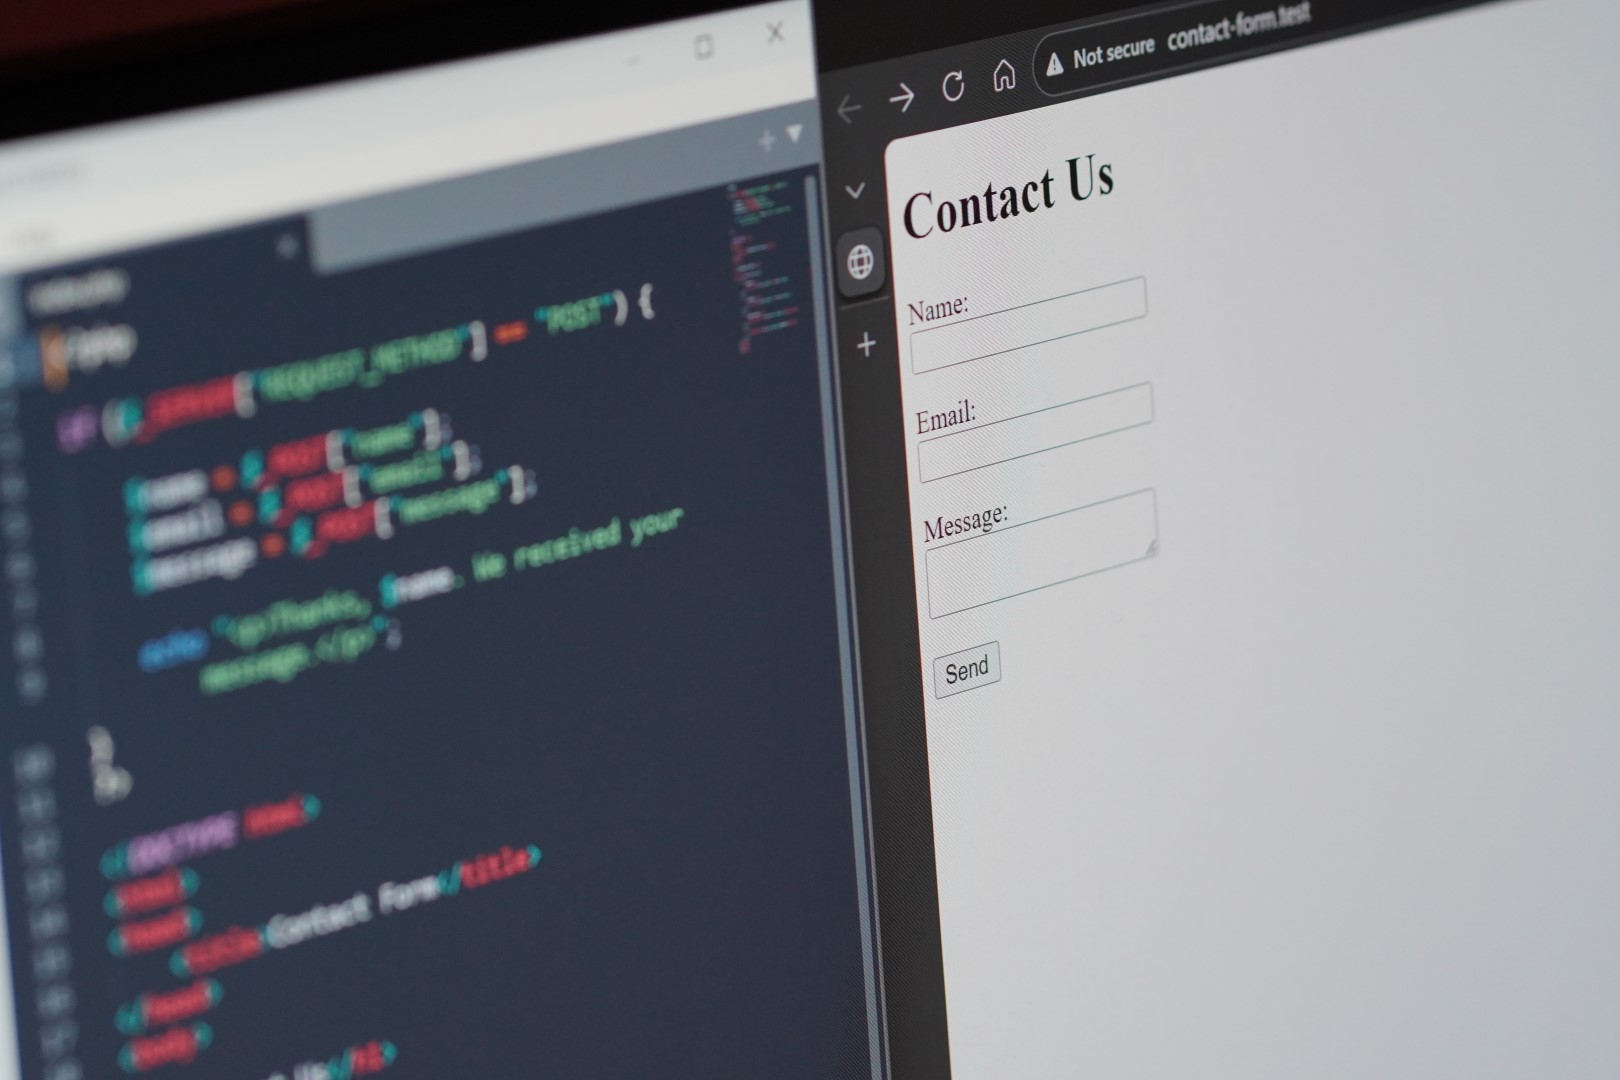
All being well, if you now visit the address Laragon has created for your site (likely to be something like http://simple-crud-db.test/ ) – then the below form should show in your browser.
Go ahead and play around with parts of the code and see what happens – you have nothing to lose!
While this example intentionally skipped robust error handling and advanced UI, it provides a solid starting point for your PHP database tutorial journey. From here, you can explore adding more features, improving security, enhancing user experience with JavaScript modals, and integrating more complex database designs. Keep experimenting and building – the possibilities with PHP and MySQL are vast!


