Onshape for Beginners: The Complete Guide to Cloud CAD
If you want to start designing things in 3D — parts for a printer, a bracket for a project, or just to learn a proper engineering skill — Onshape is one of the best places to begin. It’s free for personal use, runs entirely in your browser, and works on almost any computer you already own.
This Onshape for Beginners guide is written for complete beginners. You don’t need any CAD experience, a powerful PC, or a background in engineering. By the end, you’ll understand what Onshape is, how to get set up, and how to make your first 3D model — plus you’ll know exactly where to go to learn each part in more depth.
This is a long guide, so here’s a quick contents list. Each section stands on its own, so feel free to jump around.
Table of Contents
What Is Onshape?
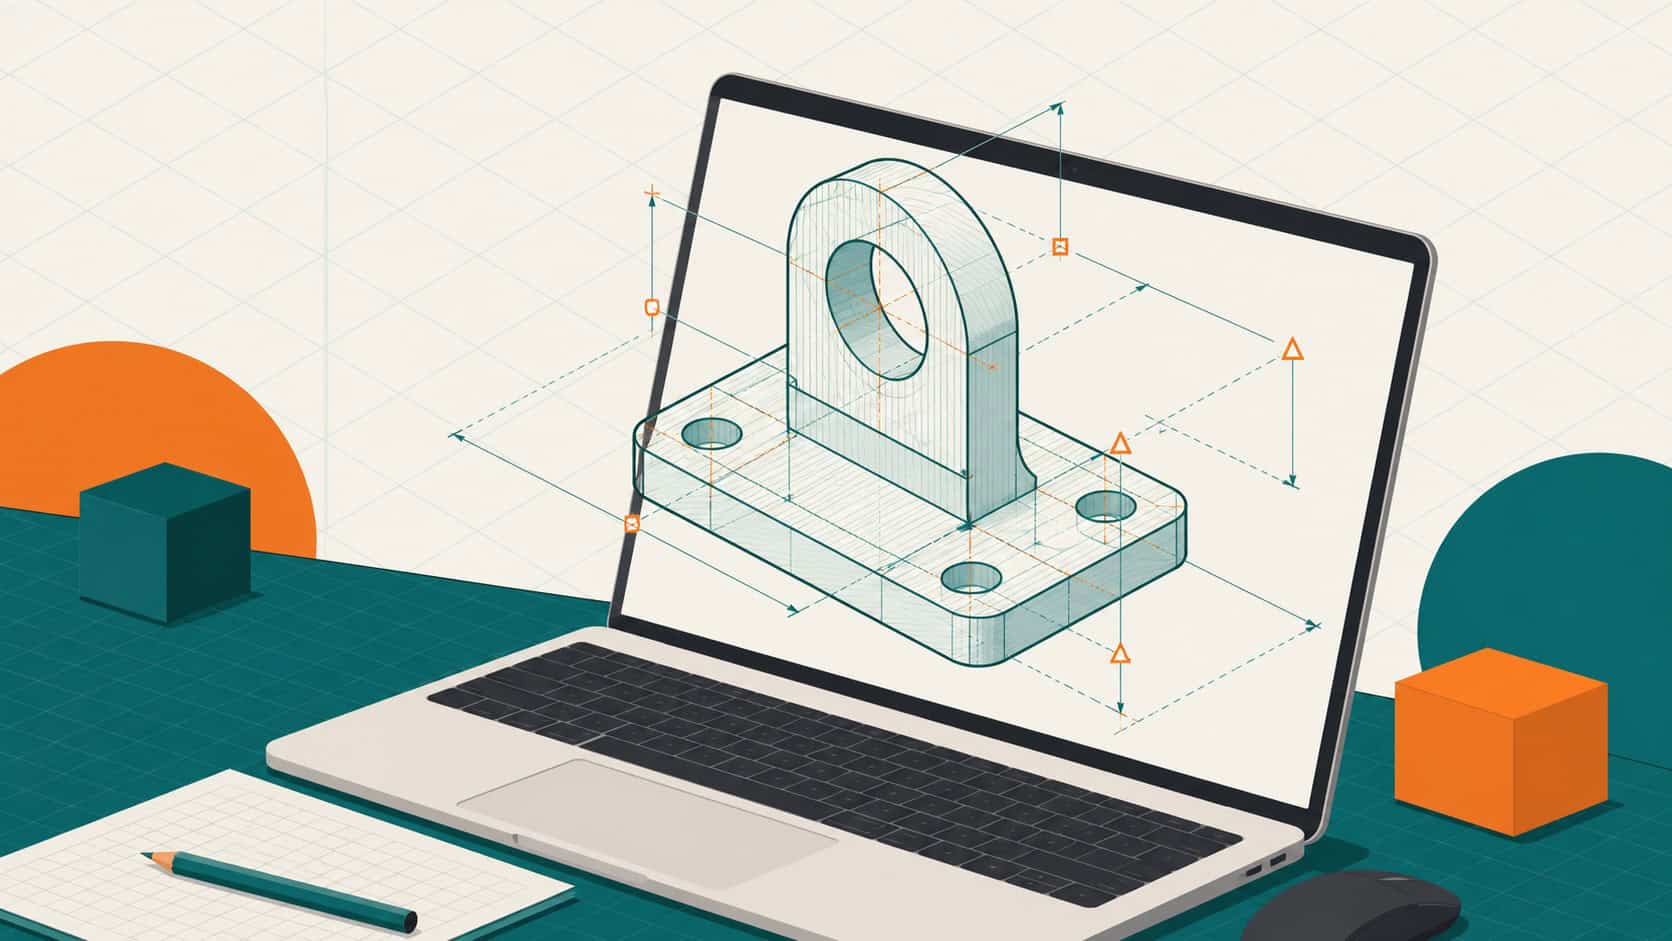
Onshape is a professional CAD (computer-aided design) tool that runs entirely in your web browser. You use it to create precise 3D models — everything from a simple phone stand to a full mechanical assembly. Unlike traditional CAD software, there’s nothing to download or install: you log in through a browser tab, the same way you’d use Gmail or Google Docs.
It was built by the team that originally created SolidWorks, one of the most widely used engineering CAD packages in the world. So while it’s beginner-friendly, it’s genuinely professional software — not a stripped-down toy. Real engineering firms, product designers, and school robotics teams use it every day.
The “cloud” part matters. Because your designs live on Onshape’s servers rather than on your hard drive, you can open the same project from any device, share it with a link, and never lose work to a crashed laptop. We’ll come back to what that means in practice — including the one big trade-off — a little later.
Who Is Onshape For?
Onshape suits a surprisingly wide range of people, but it’s especially good for beginners because it removes the two biggest barriers to learning CAD: cost and setup. If you fall into any of these groups, it’s worth a look:
- Hobbyists and makers designing parts for 3D printing
- Students learning CAD for the first time
- People on a Mac, Linux machine, or Chromebook who can’t run traditional CAD software
- Anyone who wants to try proper parametric modelling without paying for a licence
- Small teams who need to collaborate on designs remotely
It’s less ideal if you need to work offline regularly, or if your work is commercially sensitive (more on the free plan’s public-file limitation shortly). But for most beginners, none of that is a dealbreaker.
Is Onshape Free?
Yes — Onshape has a genuinely free plan that includes the full set of design tools. You can sketch, model, build assemblies, and create drawings without paying anything. The main catch is that on the free plan, all of your documents are public — anyone with the link can view them. For learning and personal projects, that’s rarely a problem.
There are paid tiers for professional use that add private documents and more storage, but as a beginner you won’t need them for a long time, if ever.
Is Onshape Really Browser-Based?
Yes, completely. There’s no desktop application to install on a laptop or PC — you run everything from a browser tab. This is one of Onshape’s defining features and the thing that makes it so easy to start with. Chrome works best, but Firefox and Edge are fine too.
It also means Onshape runs on operating systems that most CAD tools ignore entirely — Linux and Chromebook included. There’s an optional mobile app for iOS and Android if you want to view models on the go, but you never need it to design.
Getting Started: Creating Your Account
Setting up takes about two minutes. Here’s the whole process:
- Go to the Onshape website and choose the free “Sign Up Now” option.
- Create an account with your email address and verify it.
- Log in — you’ll land in your Documents page, which is empty to begin with.
- Click “Create” and then “Document” to open your first blank project.
That’s it — you’re now looking at an empty Onshape document, ready to design. If it feels overwhelming at first, don’t worry. The next two sections break down what you’re looking at and how to make your first shape.
Finding Your Way Around the Interface
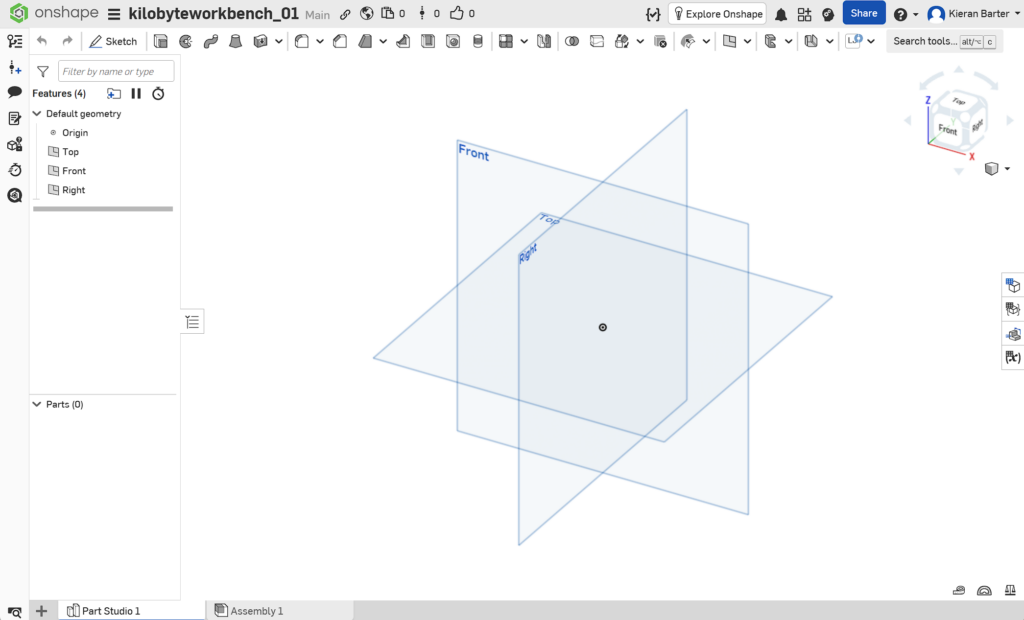
The Onshape workspace can look busy on day one, but you only need to know a handful of areas to get started. Here’s the quick tour:
| Area | What it does |
| Feature toolbar (top) | The tools you’ll use most — Sketch, Extrude, Fillet, and so on. Think of these as the actions that build your model. |
| Feature list (left) | A running history of every step you’ve taken. You can click any step to edit it later — this is the heart of parametric modelling. |
| Graphics area (centre) | The 3D space where your model appears. You rotate, zoom, and pan here. |
| Tabs (bottom) | Each tab is a workspace — Part Studios for modelling, Assemblies for combining parts, Drawings for technical drawings. |
The one concept worth understanding early is the feature list. Onshape remembers every action in order, so if you make a mistake ten steps ago, you can go back and fix that step without redoing everything after it. This is what “parametric” means, and it’s why CAD is so powerful once it clicks.
Making Your First 3D Model
Almost every 3D model in Onshape starts the same way: you draw a flat 2D shape (a sketch), then give it depth (an extrude). Master those two steps and you can make a huge range of things. Here’s the basic flow:
- Click “Sketch” and pick a plane to draw on (Front, Top, or Right).
- Draw a shape — a rectangle or circle is perfect for your first go.
- Close the sketch, then click “Extrude”.
- Set a depth and confirm. You’ve just made a 3D part.
It really is that quick to get your first solid shape. From there you add detail — rounding edges with Fillet, cutting holes, or repeating features with patterns.
I’ve written a dedicated step-by-step tutorial that walks through sketching and extruding your first part in full, with each click explained. Getting Started with Onshape free CAD software: Your First Browser-Based 3D Model tutorial
Combining Parts: Assemblies
Once you can make individual parts, the next step is putting them together. An assembly is where you bring multiple parts into one space and define how they fit and move relative to each other — like hinges that rotate or a drawer that slides.
For beginners, assemblies are where designs start to feel real. You might model a box in one Part Studio and a lid in another, then bring them together in an assembly and add a mate so the lid opens and closes.
Exporting for 3D Printing
If your goal is 3D printing — which it is for a lot of beginners — you’ll need to get your model out of Onshape as an STL file, the format slicers use. The short version: right-click your Part Studio tab, choose Export, set the format to STL and the units to millimetres, and save.
There are a few details worth getting right (units, resolution, and how to export a whole assembly as one file), which trip people up the first time.
How Onshape Compares to Other CAD Tools
If you’re weighing up your options, Onshape’s two most common rivals for beginners are Autodesk’s Fusion 360 and Dassault’s SolidWorks. Here’s the short version of how they stack up:
| Onshape | Fusion 360 | SolidWorks | |
| Runs in browser | Yes | No | No |
| Free for personal use | Yes | Yes | No |
| Works on Linux / Chromebook | Yes | No | No |
| Works offline | No | Yes | Yes |
| Built-in CAM (CNC) | Limited | Yes | Yes |
| Best for beginners | Fast to start | 3D printing / CNC | Industry standard |
I’ve written full head-to-head comparisons for the two most popular choices: Onshape vs Fusion 360: Which Free CAD Tool Should Beginners Use?
Common Beginner Mistakes (and How to Avoid Them)
Everyone hits the same few snags when they start with Onshape. Knowing them in advance saves a lot of frustration:
- Under-defined sketches: Leaving sketches under-defined. Onshape shows unconstrained sketch lines in blue. Aim to fully define your sketch (lines turn black) so your model behaves predictably.
- Editing imported STLs: Trying to import an STL and edit it like a solid. STLs are meshes, not solid parts — Onshape can’t edit them the same way. Design from scratch or import a STEP file instead.
- Public documents: Forgetting the free plan makes documents public. Don’t put anything private or commercially sensitive in a free Onshape document.
- Losing internet: Panicking when the connection drops. Onshape autosaves constantly, so you won’t lose work — but you do need to be online to keep working.
Free Resources to Keep Learning
Once you’ve got the basics from this guide and the tutorials it links to, these free resources are the best places to go deeper:
- Onshape Learning Center — Onshape’s own structured courses, free and self-paced. The best starting point after this guide.
- Onshape community forum — a friendly place to ask beginner questions; people genuinely help.
- YouTube walkthroughs — searching for a specific task (“Onshape revolve tutorial”) almost always turns up a clear video.
Frequently Asked Questions
Is Onshape good for beginners?
Yes. Onshape is one of the easiest CAD tools to start with because there’s nothing to install and it’s free. It teaches proper parametric modelling, so the skills transfer to other professional tools later.
Do I need a powerful computer to run Onshape?
No. Because the heavy processing happens on Onshape’s servers, you only need a modern browser and a stable internet connection. It runs well on modest laptops and even Chromebooks.
Can I use Onshape for 3D printing?
Yes. Onshape can export STL files, the standard format for 3D printing slicers. Set the units to millimetres when you export to avoid scaling problems.
How long does it take to learn Onshape?
You can make a basic 3D part within your first hour. Getting comfortable with sketches, assemblies, and drawings usually takes a few weeks of casual practice.
Is Onshape better than Fusion 360?
It depends on your goals. Onshape is easier to start with and works on more devices; Fusion 360 has stronger built-in tools for CNC machining and 3D-print preparation. For a complete beginner, Onshape’s zero-setup approach is the gentler entry point.
Where to Go Next
Onshape is one of the friendliest ways into 3D design: free, browser-based, and genuinely capable. If you take one thing from this guide, let it be this — the fastest way to learn is to open a document and make something, however small.
A good first move is to create your account and follow the sketch-and-extrude walkthrough to build your first part. From there, the cluster of guides linked throughout this page will take you step by step through assemblies, drawings, and exporting for print.